Phone Night Photography: A Practical Low-Light Checklist
Before you change a setting, wipe your phone’s lens with a soft cloth. Then find a usable light source, such as a window, storefront, or lamp. For a portrait, ask your subject to face that light rather than stand in a dark corner.
Brace your elbows, lean against a wall, or rest the phone on a secure surface. A short timer can help if tapping the shutter shakes it. Ask your subject to pause, too: a steady phone cannot freeze a moving face.
If your subject is walking, night mode’s longer capture may blur them. Find brighter light, take several frames, and shoot when they pause. Start with your phone’s main camera; when it is safe and practical, move closer instead of using digital zoom.
Check the product’s listed specifications when evaluating match the capture to the subject.
Featured in this guide
Shooting Great Low-Light Photos on Your Phone – Practical Checklist for Night Photography | phone camera tips for low light
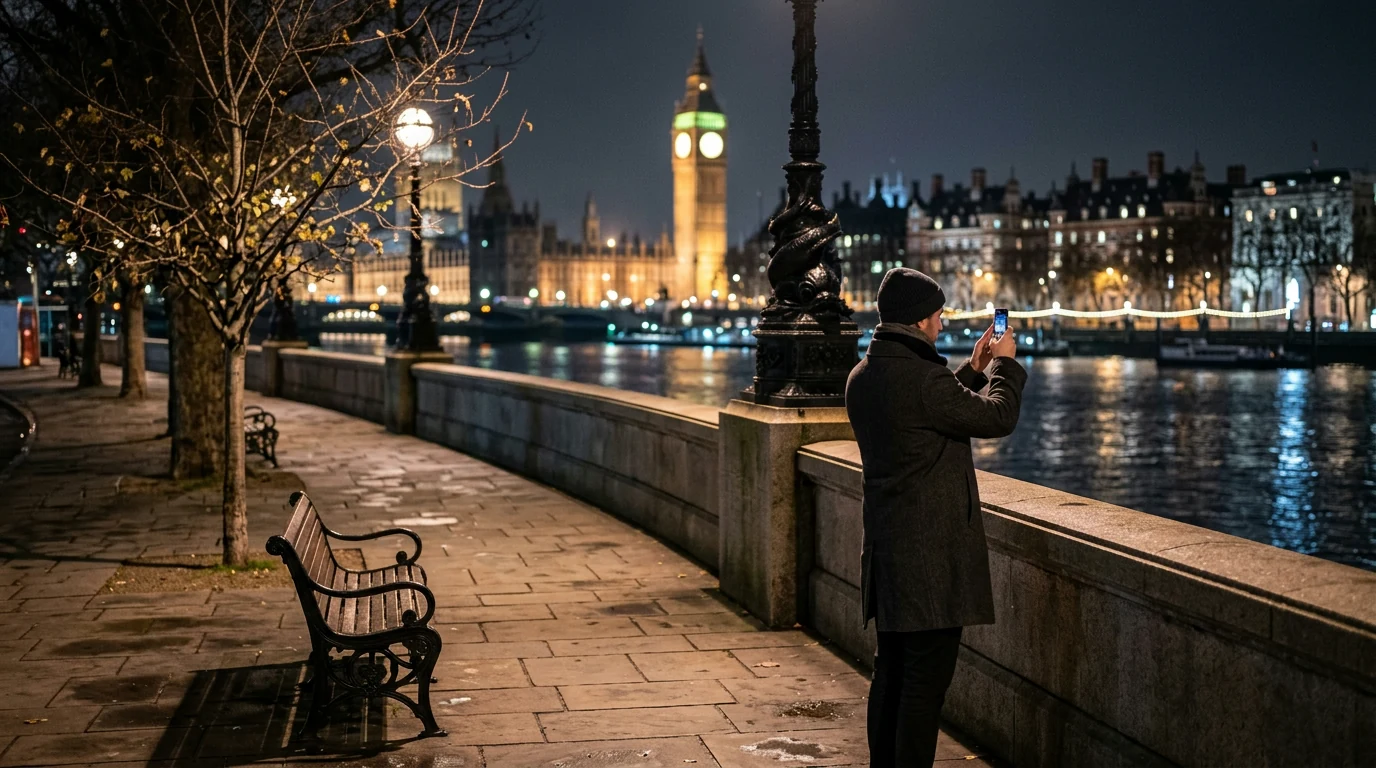
For a still street scene or skyline, try your phone’s night mode and keep the phone steady until the capture finishes. Controls and capture times vary by device; Apple’s guide to using Night mode on iPhone shows how one phone handles the feature. Take a standard shot as well so you can compare the results later.
Movement calls for a different approach. A longer night-mode capture may blur a walking person, pet, or passing car even if your hands stay perfectly still. Move toward a brighter area, take several frames, and look for the moment your subject pauses. Tap your subject on the screen to set focus and exposure. If a sign or lamp turns into a featureless white patch, lower exposure slightly and try again.
Take one wide frame to show where you are, then make a second, simpler photo by moving closer. You do not need to capture every light on the block. Choosing one clear subject often gives you a stronger picture than trying to brighten the entire scene.
Choose one clear subject. Take a wide frame for context, then try a closer composition from a safe position. Scan the edges for distracting headlights or signs before you move on.
Afterward, choose the sharpest frame before editing. Lift shadows gently and protect detail in bright lamps and signs. Brightness cannot restore detail lost to movement.
If you want a reminder for your next outing, our practical low-light photography checklist keeps these shooting decisions together. If you are considering a different phone instead, treat that as a separate decision; our guide to buying pre-owned gadgets can help you think through a used-device purchase.
Choose the sharpest frame before editing. Raising brightness will not restore detail lost to camera shake or subject movement. Lift shadows gently, keep bright lamps and signs from becoming washed out, and adjust color if streetlights have made skin or pavement look unnaturally warm. Use noise reduction sparingly so faces and textures do not become overly smooth. Compare your edit with the original at a normal viewing size, not only while zoomed in.
If you want these steps in one place for your next outing, our Shooting Great Low-Light Photos on Your Phone practical checklist is an in-stock option. It is a useful reminder to solve light, steadiness, and composition before relying on edits.
Considering a different phone for night photos? Make that a separate buying decision. Compare real low-light results from the phones you’re considering, and account for the condition and cost of a used device. Our guide to buying pre-owned gadgets can help you weigh that purchase; it will not replace good shooting habits with the phone you already own.
In photography, it usually means placing the camera close to the ground or below your subject for a low-angle view. At night, keep the phone steady if you try it.
If you mean firing blank ammunition, legal consequences depend on where and how it happens; blanks can also cause serious injury. They are not needed for phone night photography.
In photography, you may shoot from a low position to emphasize a subject or include more sky. If you mean an unexpectedly dark exposure, a bright lamp or sign in the frame may be influencing your phone’s exposure.


Leave a comment